
서론: 왜 직접 HTTP 서버를 만들어보는가?
웹 개발을 할 때 우리는 대부분 Spring Boot 같은 프레임워크를 사용하여 서버를 구축한다.
Spring Boot는 내부적으로 Tomcat, Jetty 같은 내장 서버를 사용하기 때문에, HTTP 요청이 어떻게 처리되는지 직접 고민할 일이 거의 없다.
그러나 만약 내장 서버가 없다면? 어떻게 동작하는지 예상이 가는가?? 라는 질문에 내가 대답하지 못했어서 시작하게 되었다.
HTTP 서버의 동작 원리를 직접 구현해 본다면
- Socket 프로그래밍: 클라이언트와 서버 간의 데이터 전송 원리
- 멀티스레딩 기초: 여러 클라이언트 요청을 동시에 처리하는 방법
- HTTP 프로토콜 구조: HTTP 요청(Request)과 응답(Response)의 동작원리 및 기본적인 웹 서버의 구조
- 심지어는 Spring 에서 제공하는 Bean 이나 서블릿도 이해할수 있을것 같다
이 글에서는 가장 기본적인 HTTP 서버를 직접 구현해보고, 코드 분석을 통해 중요한 개념들을 하나씩 설명해 보겠습니다.
간단한 HTTP 서버 코드
코드부터 보고 들어가보자.
import java.io.*;
import java.net.ServerSocket;
import java.net.Socket;

/**
 * CustomHttpServer 클래스는 간단한 HTTP 서버를 구현합니다.
 * 서버는 지정된 포트에서 클라이언트 요청을 수신하고, 간단한 "Hello World" 응답을 반환합니다.
 *
 * <p>주요 기능:
 * <ul>
 *   <li>서버 시작 및 클라이언트 연결 수락</li>
 *   <li>클라이언트 요청 처리 및 응답 전송</li>
 * </ul>
 *
 * <p>사용 예:
 * <pre>
 * {@code
 * public static void main(String[] args) throws IOException {
 *     new CustomHttpServer().start();
 * }
 * }
 * </pre>
 *
 * @author
 * @version 1.0
 */
public class CustomHttpServer {
    private static final int PORT = 8080;

    public void start() throws IOException {
        ServerSocket serverSocket = new ServerSocket(PORT);
        System.out.println("Custom HTTP Server started on port " + PORT);

        while (true) {
            Socket clientSocket = serverSocket.accept();
            Thread thread = new Thread(() -> handleRequest(clientSocket));
            thread.start();
        }
    }

    private void handleRequest(Socket socket) {
        try (BufferedReader reader = new BufferedReader(new InputStreamReader(socket.getInputStream()));
             OutputStream output = socket.getOutputStream()) {

            // 요청 읽
            String requestLine = reader.readLine();
            System.out.println("Received: " + requestLine);

            // 간단한 응답 보내기
            String response = "HTTP/1.1 200 OK\r\nContent-Type: text/plain\r\n\r\nHello World";
            output.write(response.getBytes());
            output.flush();
        } catch (IOException e) {
            e.printStackTrace();
        }
    }

    public static void main(String[] args) throws IOException {
        new CustomHttpServer().start();
    }
}
코드 분석 및 핵심 개념 학습
2.1 `ServerSocket`을 이용한 서버 생성
ServerSocket serverSocket = new ServerSocket(PORT);
이 부분은 8080번 포트에서 클라이언트 요청을 받을 준비를 한다. 마치 Spring 처럼
ServerSocket은 특정 포트에서 네트워크 연결을 수락하는 역할을 한다.
https://docs.oracle.com/javase/8/docs/api/java/net/ServerSocket.html#accept--
ServerSocket (Java Platform SE 8 )
Create a server with the specified port, listen backlog, and local IP address to bind to. The bindAddr argument can be used on a multi-homed host for a ServerSocket that will only accept connect requests to one of its addresses. If bindAddr is null, it wil
docs.oracle.com
2.2 클라이언트 요청을 기다리기
Socket clientSocket = serverSocket.accept();
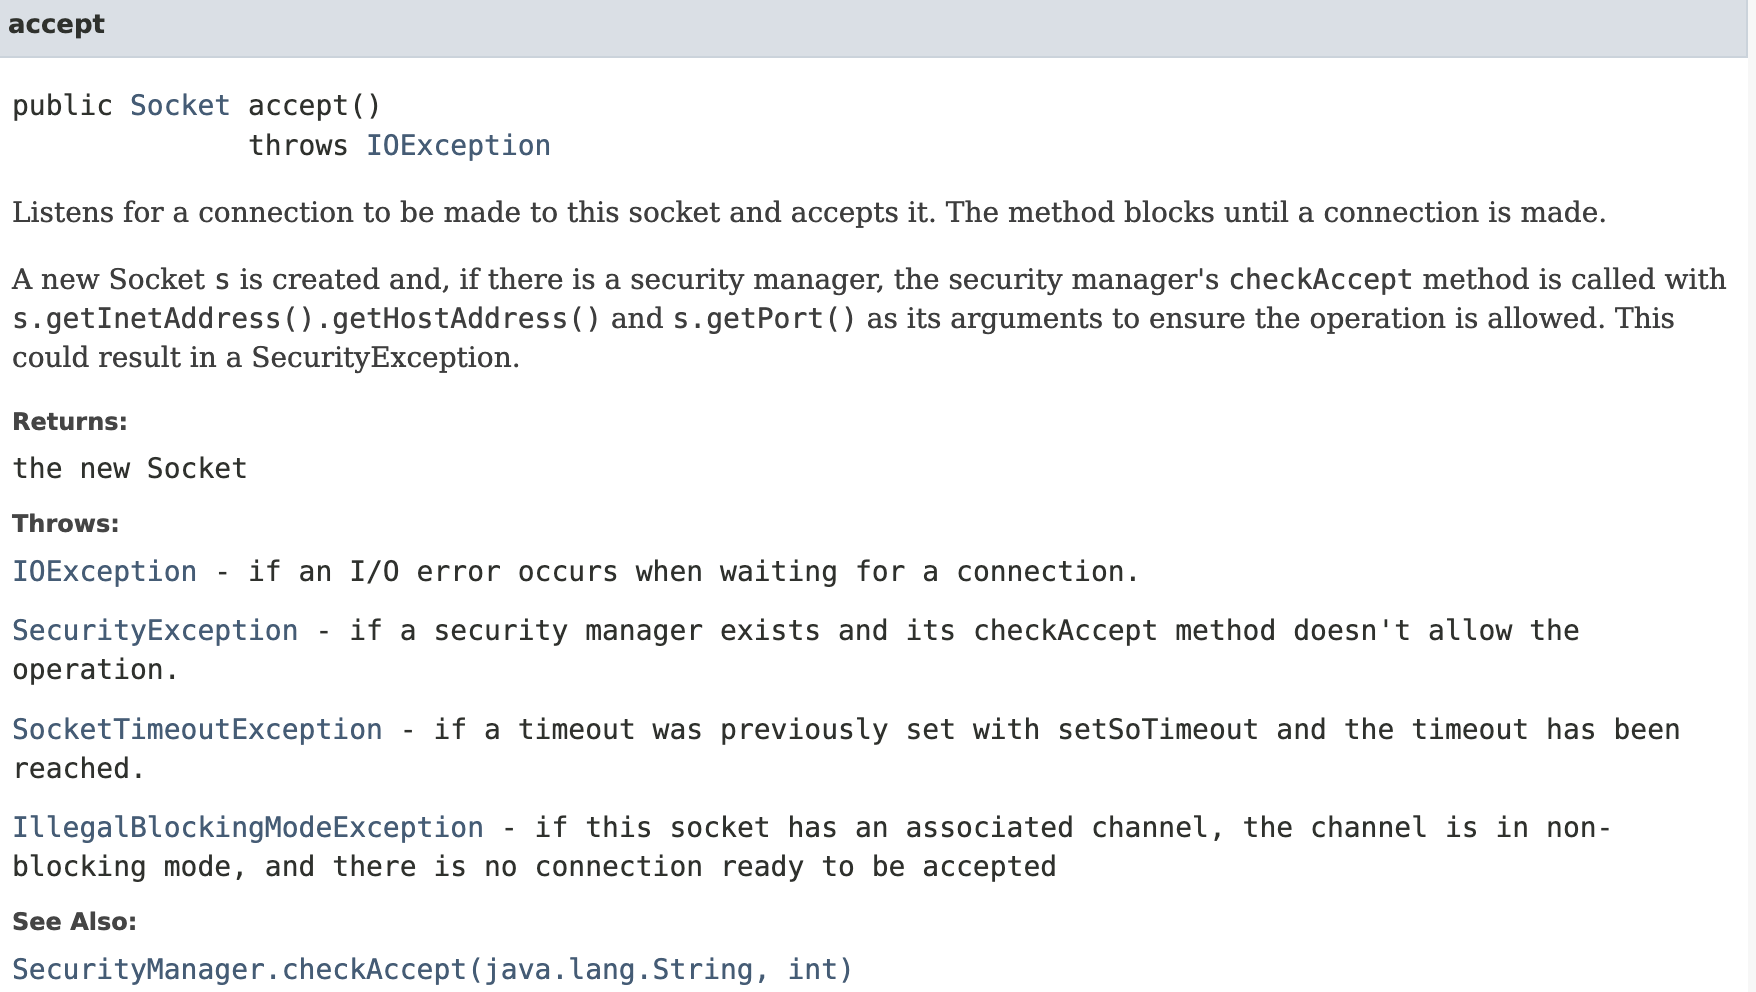
`accept()` 메서드는 클라이언트가 요청을 보낼 때까지 대기하며, 연결 요청이 오면 새로운 `Socket` 객체를 반환하게 된다.
즉, 클라이언트가 웹 브라우저에서 http://localhost:8080에 접속하면, accept() 메서드가 실행된다.
2.3 요청을 처리하는 스레드 생성
Thread thread = new Thread(() -> handleRequest(clientSocket)); thread.start();
각 클라이언트 요청을 별도의 스레드(Thread)에서 처리하여 서버가 동시에 여러 요청을 받을 수 있도록 한다.
왜 스레드보고 처리를 하라고 할까? https://www.quora.com/Why-are-threads-used-in-client-server-programs
Why are threads used in client/server programs?
Answer (1 of 2): I like to think of threads as lanes on a road, each lane is a set of code which runs. Imagine you have your User Interaction 'lane' and you then run a HTTP GET in that lane. Unfortunately that GET is really slow. Now you have effectively b
www.quora.com
https://docs.oracle.com/cd/E19146-01/821-1834/geeie/index.html
Understanding Threads, Processes, and Connections (Oracle iPlanet Web Server 7.0.9 Performance Tuning, Sizing, and Scaling Guide
Understanding Threads, Processes, and Connections Before tuning your server, you should understand the connection-handling process in Web Server. Request processing threads handle Web Server connections. You can configure Request handling threads from the
docs.oracle.com
이렇게 하면 여러 클라이언트가 동시에 요청을 보내더라도 서버가 멈추지 않고 요청을 병렬로 처리할 수 있다.
2.4 요청을 읽는 방법: `BufferedReader`
BufferedReader reader = new BufferedReader(new InputStreamReader(socket.getInputStream()));
이 코드에서 `BufferedReader`를 사용하는 이유는 네트워크 스트림에서 효율적으로 데이터를 읽기 위해서이다.
왜 이걸 썼는지? https://www.baeldung.com/java-buffered-reader
-> 요약하면 BufferedReader를 사용하면 한 줄씩 데이터를 읽을 수 있으며 성능이 향상되기 때문이다.
HTTP 요청의 첫 번째 줄(예: "GET / HTTP/1.1")을 읽고 출력한다.
2.5 응답 구성 방식
String response = "HTTP/1.1 200 OK\r\nContent-Type: text/plain\r\n\r\nHello World";
이 응답은 HTTP 명세를 따르고 있으며, 기본적으로 3가지 요소를 포함한다.
https://developer.mozilla.org/ko/docs/Web/HTTP/Overview#http_%EA%B8%B0%EB%B0%98_%EC%8B%9C%EC%8A%A4%ED%85%9C%EC%9D%98_%EA%B5%AC%EC%84%B1%EC%9A%94%EC%86%8C
HTTP 개요 - HTTP | MDN
HTTP는 HTML 문서와 같은 리소스들을 가져올 수 있도록 해주는 프로토콜입니다. HTTP는 웹에서 이루어지는 모든 데이터 교환의 기초이며, 클라이언트-서버 프로토콜이기도 합니다. 클라이언트-서버
developer.mozilla.org
- 상태 코드(Status Code): HTTP/1.1 200 OK
- 200 OK는 요청이 성공했음을 의미
- 헤더(Header): Content-Type: text/plain
- 응답 본문이 텍스트 파일 형식임을 나타낸다.
- 본문(Body): "Hello World"
- 클라이언트에게 전달될 실제 응답 내용
코드 실행 결과
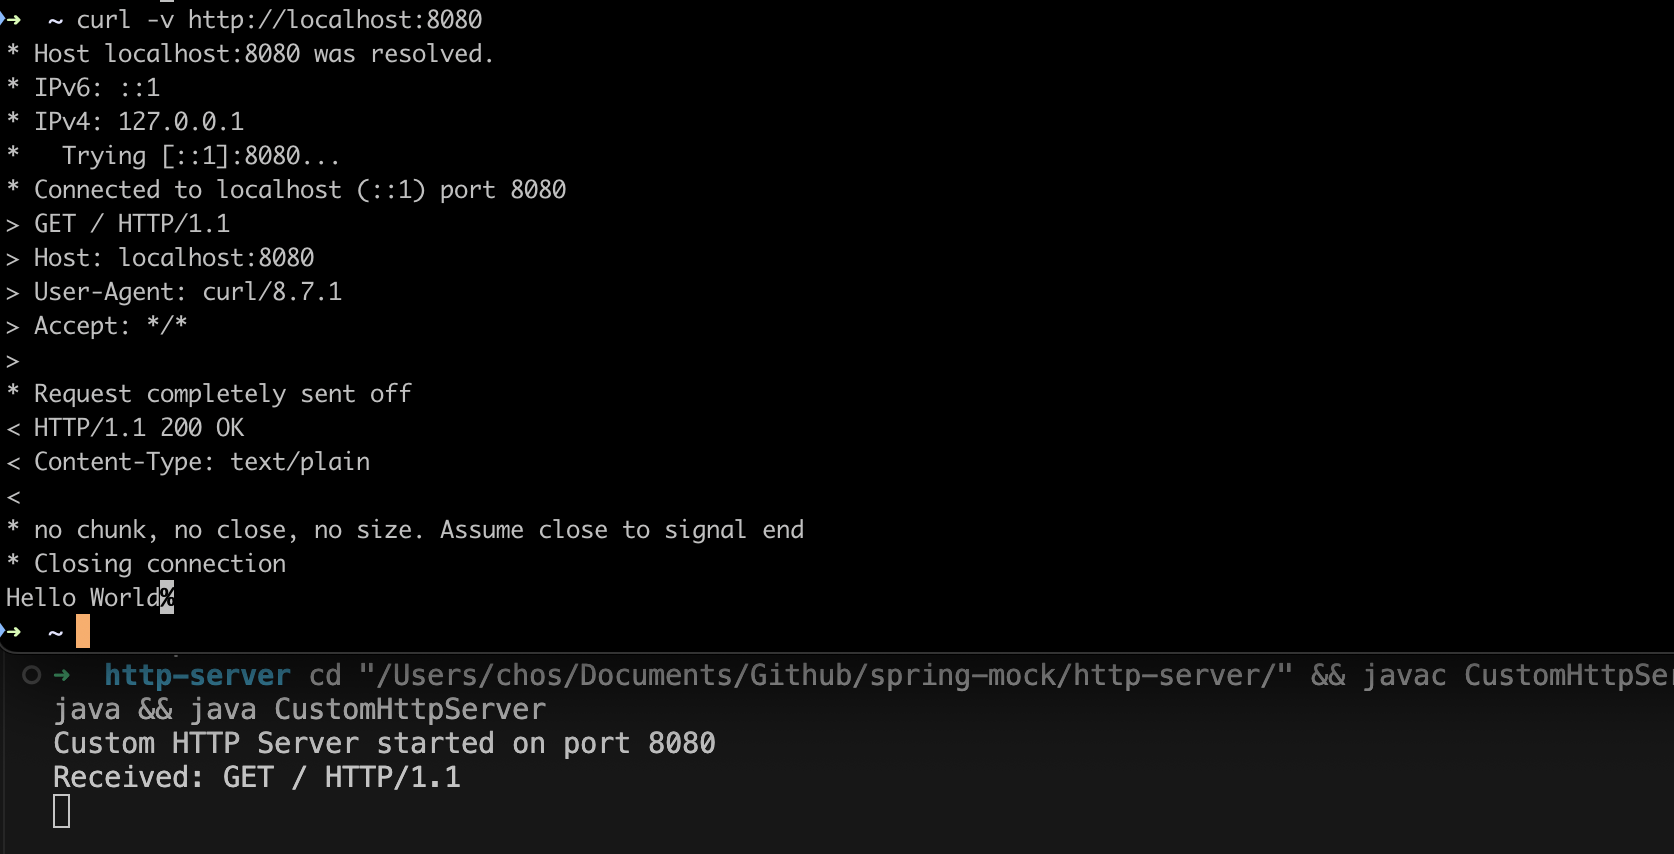
우리가 response 에 작성해놨던 부분이 클라이언트에게 보여지게 된다.
실제로 해당 정보가 HTTP 데이터인건 아니지만? 우리가 만드는건 결국 mock 이기 때문에 이렇게 만들어놓고 서서히 구현해나가면 된다.
다음 확장을 고려해야될 부분
현재 코드는 보면 알다싶이 GET 요청밖에 못하고 명시해둔 버전이나 타입도 전부 하드코딩해놓은 결과물이다.
따라서 HTTP 명세를 보면서 몇가지를 더 추가해보자
HTTP 메서드(GET, POST) 지원
현재는 모든 요청을 동일하게 처리하지만, 실제 웹 서버는 다양한 HTTP 메서드를 지원해야 합니다.
동적인 상태 코드(Status Code) 반환
지금은 200 OK만 반환하지만, 예외 발생 시 400 Bad Request, 404 Not Found 등의 상태 코드를 반환할 수 있다.
헤더(Header) 구현
현재는 고정된 Content-Type만 반환하지만, 다양한 콘텐츠 타입을 지원해야 한다.
요청 파라미터 분석
현재 코드는 클라이언트의 요청 데이터를 처리하지 않지만,
쿼리 스트링(?name=John)이나 POST 데이터를 분석할 수 있도록 개선할 수 있다.
객체지향 설계 적용
지금은 모든 기능이 하나의 클래스에 포함되어 있지만, Request 객체, Response 객체를 분리하여 유지보수성을 높여보자
'Spring' 카테고리의 다른 글
| [SecurityContextHolder] Authentication 분석하기, principal 객체로 유저 이름 가져오기 (0) | 2023.06.29 |
|---|---|
| JPA관계매핑시 @JoinColumn 옵션 그리고 JPA명명전략(naming strategy) (0) | 2023.06.25 |
| FetchType.EAGER vs FetchType.LAZY in JPA (0) | 2023.06.23 |
| SpringBoot+MySQL(JPA) 회원가입,JWT 로그 구현하기 - (2) (1) | 2023.06.23 |
| 스프링 JPA: 엔티티 필드의 기본값에 대한 고찰 (0) | 2023.06.21 |